Intro
Strong, clear photos can dramatically increase how fast liquidation finds sell and how much buyers are willing to pay, even if you are "just" shooting with a smartphone. High-quality product images have been linked to conversion lifts of 30–90% in ecommerce, so every improvement you make behind the camera can translate into real money in your pocket.[1][2][3][4]
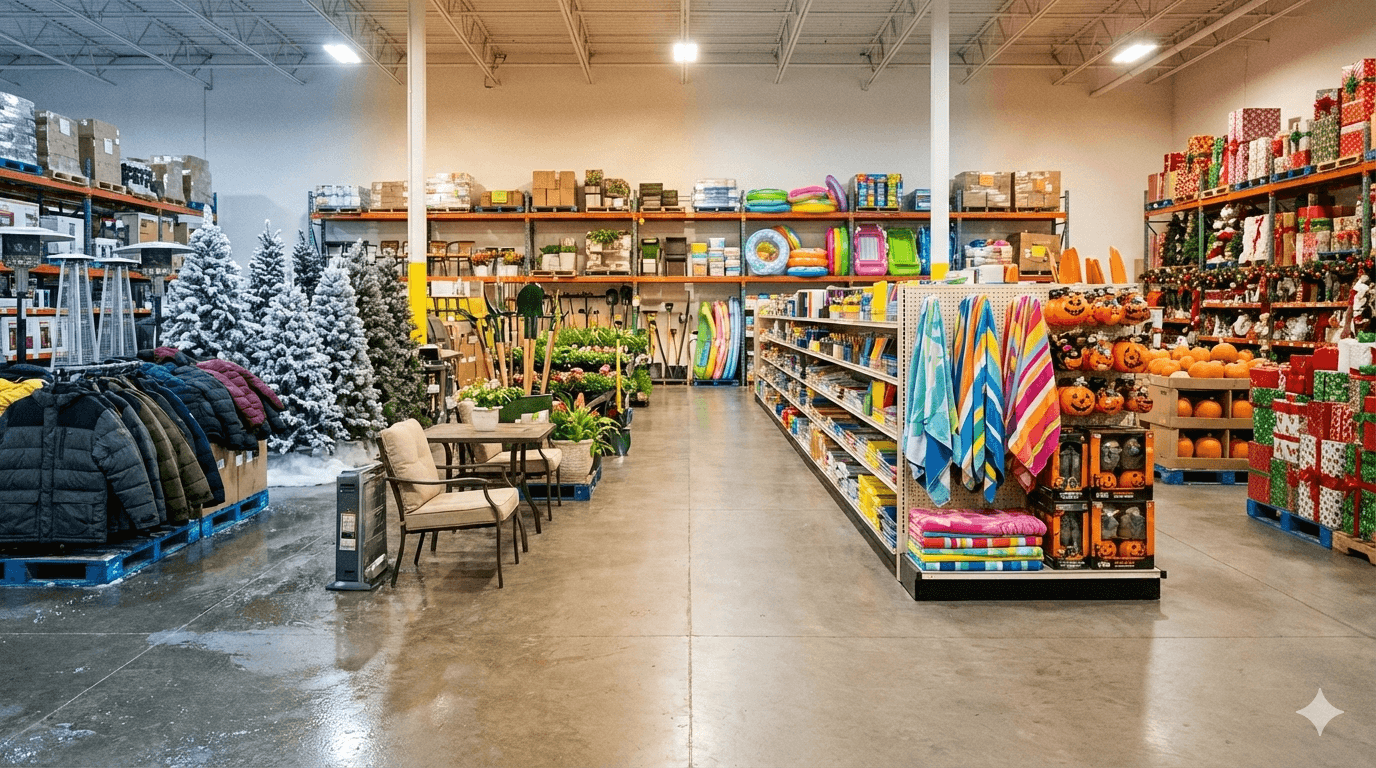
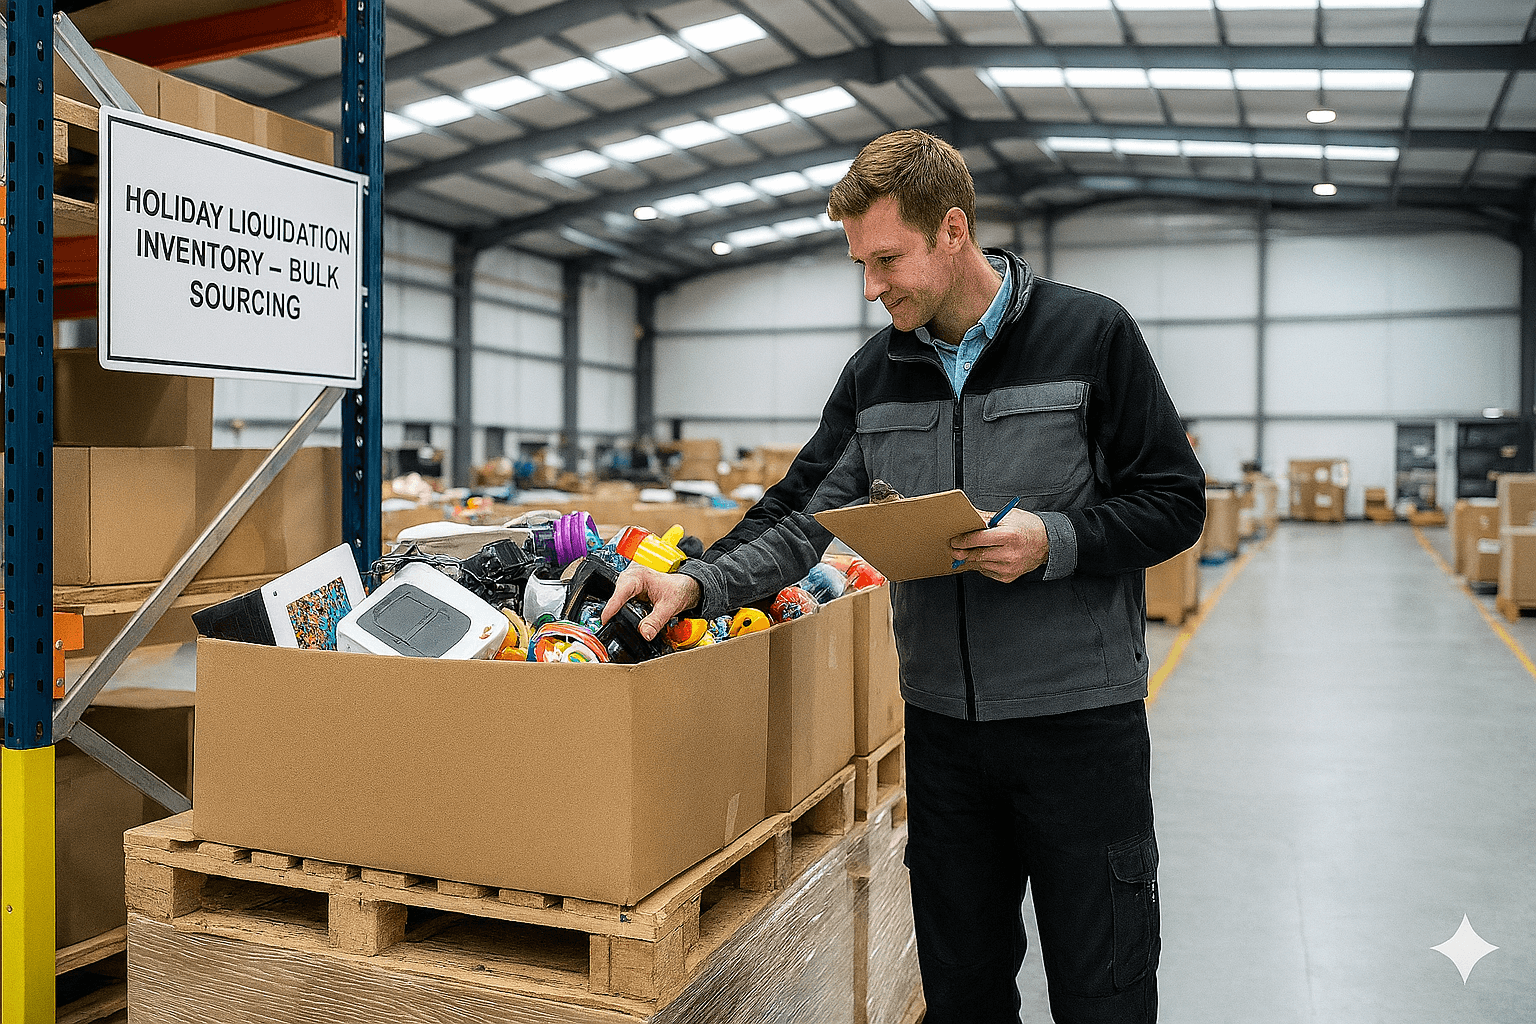
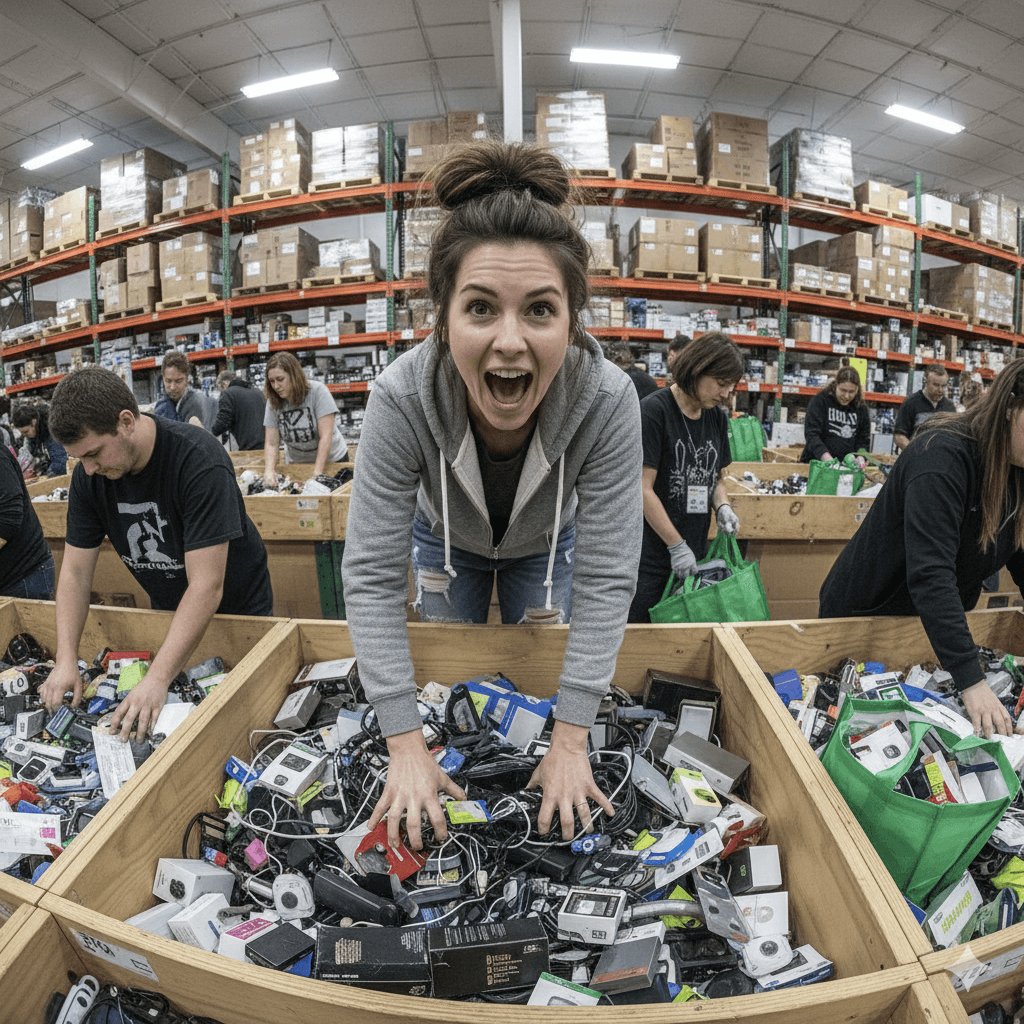
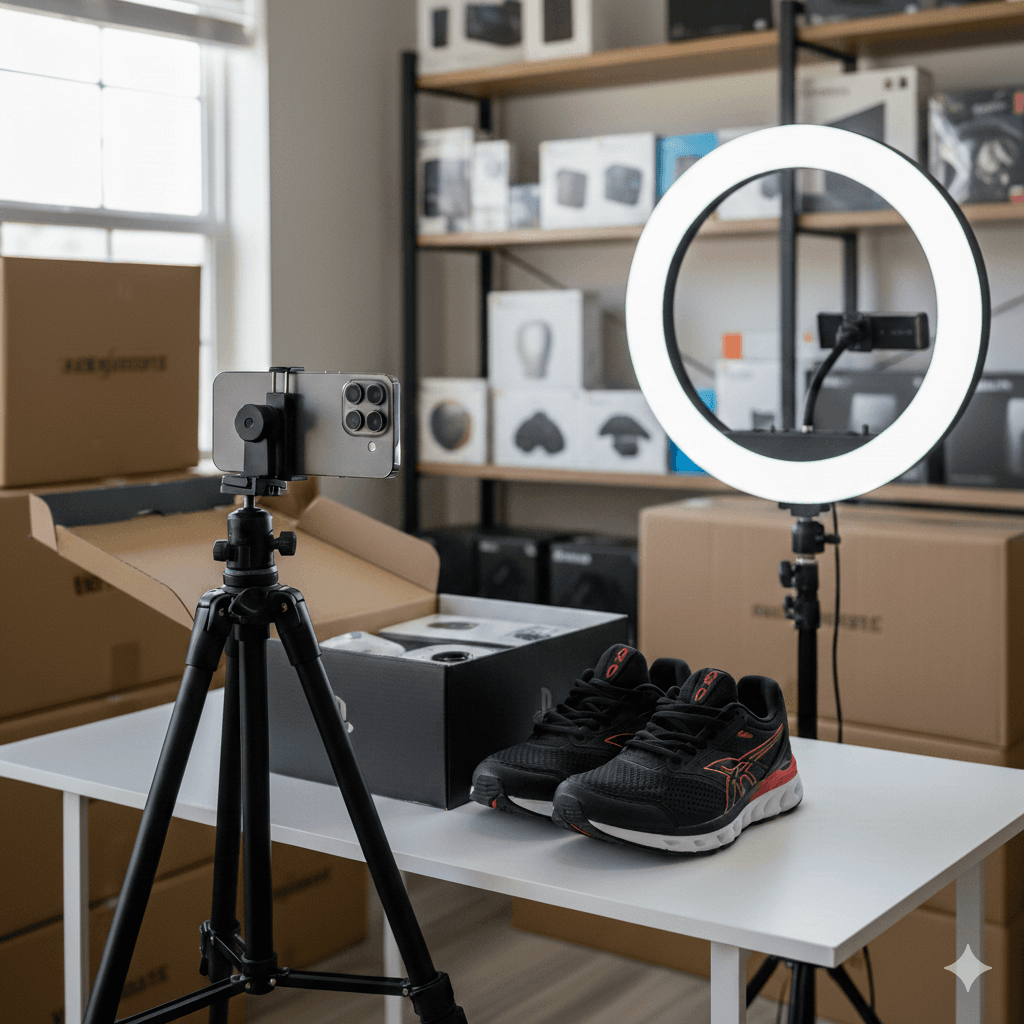
For resellers sourcing from liquidation pallets and bin stores, professional-quality listing photos are often the difference between items sitting for months and items moving within days at near-retail prices. The good news? You don't need expensive camera equipment or a professional studio—just your smartphone and a few simple techniques.
In this guide, we'll walk through smartphone photography basics, budget-friendly lighting setups, background options, strategies for showing product condition honestly, and the best free and paid photo editing apps to polish your listings and maximize conversion rates.
Why Listing Photos Matter So Much
Online buyers cannot touch or inspect your liquidation items, so they rely heavily on visuals to judge value, condition, and trustworthiness.[5]
Key statistics:
- Around 75% of online shoppers say product photos are the most influential factor in deciding to buy.[5]
- Multiple studies show that upgrading from low-quality to high-quality photos can boost conversion rates by 30–94%.[2][3][4][6]
- Adding more clear photos from different angles has been associated with sales lifts of around 50% or more for ecommerce products.[2][3]
For resellers flipping liquidation finds on marketplaces like eBay, Poshmark, Whatnot, or Facebook Marketplace, better photos can be the difference between items sitting for months and items moving within days at competitive prices. When you source low-cost inventory via liquidation pallets or bin stores discovered through findaliquidationstore.com, photo quality directly impacts your profit margins and cash flow.
Smartphone Photography Basics
Modern smartphones are more than powerful enough for professional-looking resale photos if you use them correctly.[7][8]
Key fundamentals:
Clean the lens
- Use a soft microfiber cloth before every shoot to remove fingerprints and haze.
- A dirty lens can make photos look soft and low contrast, which hurts perceived item quality.[9]
Use the rear camera, not the selfie camera
- Rear cameras usually have better sensors and sharper lenses.
- This is especially important for showing fine details like fabric texture, serial numbers, and small flaws.[7]
Turn on gridlines and keep things level
- Enable the camera grid in settings to help keep horizons straight and products centered.[9]
- Straight, aligned photos look more professional and reduce buyer suspicion that you are "hiding" something.
Tap to focus and adjust exposure
- Tap on the product so the camera locks focus where it matters.
- Most phones let you slide up or down to brighten or darken the shot, preventing blown-out highlights or murky shadows.[9]
Real-world example: A small apparel reseller who switched from quick, handheld shots to carefully focused, well-exposed photos (using the rear camera and gridlines) saw a noticeable drop in "Is this color accurate?" questions and faster sell-through on higher-value pieces.[2][4]
Budget Lighting Setups That Work
You do not need a studio to get good lighting for liquidation items. You just need soft, even light and consistency.[10][11][12][13][14]
Natural light setups (Free)
North-facing window during the day
- Place a small table a few feet from a bright window, but avoid direct sun that causes harsh shadows.
- Shoot with the window to the side of your product, not behind it, to avoid silhouettes.[9]
DIY reflector
- Use a white foam board or even a taped-together stack of printer paper opposite the window to bounce light back and soften shadows.[9]
- This simple trick makes electronics, shoes, and home goods look more "polished" with almost no cost.
Ready to Find Your Local Liquidation Store?
Browse thousands of liquidation and bin stores across the United States. Find deals near you today!
Low-cost artificial lighting
If you shoot at night or have limited window light, basic artificial lights can do the job.[10][11][12][13]
LED softbox kit
- Entry-level continuous LED softbox kits can start under $100 and provide large, soft light ideal for most products.[10]
- Look for lights with CRI 90+ or ideally 95+ so colors are accurate and your buyers see the true color of clothing, décor, and electronics.[10][9]
Work lights plus diffusion
- Hardware-store LED or halogen work lights can be bounced off a white wall or shined through a white sheet or shower curtain to create soft light.[11][12][13]
- One creator built an entire scene with work lights and basic diffusion for under about $125 and achieved professional-quality lighting.[11]
Small LED panels or cubes
- Compact LED lights are helpful for small items like jewelry, collectibles, and tools from liquidation pallets.[13]
- They are easy to mount above or beside your product and can be diffused with parchment paper or softbox attachments.
Real-world example: A part-time reseller photographing liquidation electronics on a small table near a bedroom window, plus a $5 white